
How to read guitar tabs (and get the most out of Ultimate Guitar)
Heads up: some links in this post are affiliate links. If you buy through them we may earn a small commission at no extra cost to you. It helps keep the room running.
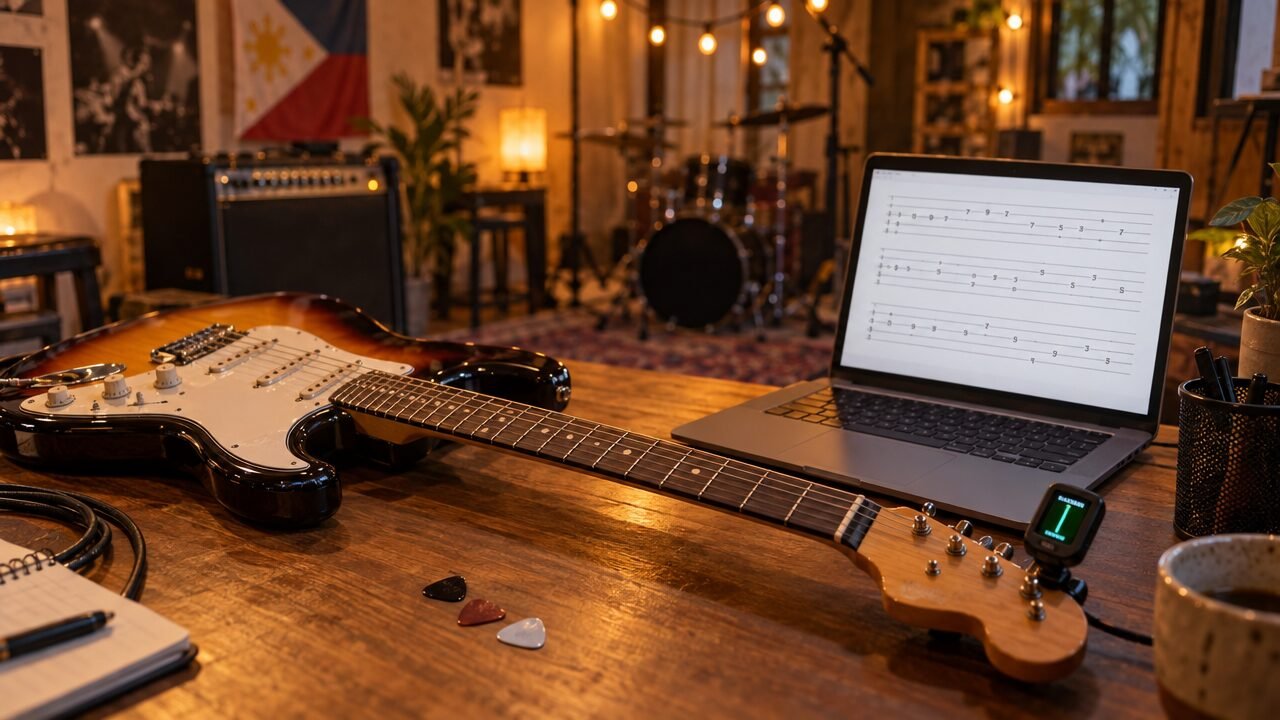
Half the bands that book the room learn their songs from tabs, and most of them pull those tabs from Ultimate Guitar. Tabs are the fastest way to learn a riff without reading standard notation, but they only help if you know what every symbol means. Here is a quick guide, written the way we explain it to new players in the studio.
The six lines are your six strings
A tab is a picture of the guitar neck lying flat. Each horizontal line is a string. The top line is the thinnest string (high E) and the bottom line is the thickest (low E). That trips up almost everyone at first, because it is the opposite of how the strings look when you glance down at your guitar.
e|-----------------------|  thinnest string
B|-----------------------|
G|-----------------------|
D|-----------------------|
A|-----------------------|
E|-----------------------|  thickest string
Numbers are frets, not fingers
A number on a line tells you which fret to press on that string. 0 means play the string open. Read from left to right, like a sentence. In this simple riff you play the open low E, then fret 2 on the A string, then fret 2 on the D string:
e|-------------------------|
B|-------------------------|
G|-------------------------|
D|---------2-------2-------|
A|-----2-------2-------2---|
E|-0-------------0---------|
When numbers are stacked on top of each other, play them at the same time. Two stacked numbers on neighboring strings, like a 2 over a 0, is the classic power chord shape you see in almost every pop punk and OPM rock song.
D|---------------|
A|--2---4---5----|
E|--0---2---3----|
The symbols you will see most
- h or H: hammer-on. Pick the first note, then press the next fret without picking again.
- p or P: pull-off. The reverse: pull your finger off to sound the lower note.
- / and : slide up or slide down to the next fret.
- b: bend the string up, usually to the pitch of the number in brackets.
- x: a muted, scratchy hit with no clear note.
- P.M. with a dashed line: palm mute. Rest the side of your picking hand on the strings near the bridge for that chug sound. Keep muting until the dashes end.
- ~: vibrato. Wiggle the note.
Check the info line before you play
Above most tabs you will find a line with tuning, key and capo. If it says E A D G B E, you are in standard tuning. If it says Eb or drop D, retune first or nothing will sound right. Do it with a clip-on tuner so you are not guessing by ear while the band waits.
Rhythm is the part tabs hide
Plain text tabs show you where to put your fingers but not when. That is why the official tabs on Ultimate Guitar are worth a look: they add rhythm stems and beams under the numbers, a tempo marking, and the lyrics lined up with the riff, so you can see exactly which word lands on which note. If you are reading a basic user tab, always listen to the original song a few times before you play along.
Ultimate Guitar features worth using
- Tempo. Slow the playback down while you learn a hard part, then bring it back to full speed.
- Loop. Repeat one tricky section until it is clean instead of restarting the whole song.
- Backing track. Play your part with the rest of the band filled in. Great for home practice.
- Transpose. Move the song up or down to fit your singer, or to match a capo.
- Metronome. Lock in with a click before you try it with a drummer.
- Tab and Chords view. Rhythm players can switch to chords only; lead players stay on the tab.
- Parts bar. Jump straight to Verse, Chorus or Solo instead of scrolling.
- Ratings and versions. For free user tabs, pick the version with the most ratings and the highest score. Official tabs are made by the UG team and are usually the most accurate.
A simple way to learn any tab
- Read the info line and tune to match.
- Listen to the original song twice.
- Learn one section at a time with the tempo slowed down.
- Loop the hard bar until it is clean three times in a row.
- Play along at full speed, then bring it to your next rehearsal.
Keep a few spare picks on your music stand, because they always vanish right when you get to the solo. And if you want help working out a tab with your band, book a slot and ask us in the room. We are always happy to go through it with you.
Keep reading
A 20-minute home practice routine for band members
Twenty focused minutes a day between rehearsals is enough to walk into the room tighter. Here is the routine we use.
Your first pedalboard on a budget: start with three things
You do not need a wall of pedals. A tuner, one good effects pedal and clean power will take you a long way in a band.

CLSM8TS Studio Sessions are live on YouTube
Our first run of live jam covers is up on the channel: OPM favorites, 80s pop and 90s alt rock, all recorded in one take in the room.